
Combos
Melty Blood: Twi-Lumina combo guides — notation basics, Rapid Beat routes, special cancels, Gauntlet follow-ups, and meter-heavy super finishes, built step by step for every skill level.
Introduction
The Combos section is your route library for Melty Blood: Twi-Lumina, organized as a learning path rather than a wall of inputs. Every route assumes the reader started with notation — Twi-Lumina, like the rest of the series, uses numpad notation, and misreading a single digit ruins a route — so the path begins there. From notation it builds upward: Rapid Beat chains form the skeleton of beginner damage, special-move cancels extend those chains past the autocombo ceiling, the new Gauntlet technique adds knockaway follow-ups that earlier entries could not do, and meter-heavy super moves finish routes. Because the game is unreleased, current articles focus on structure and theory that will hold at launch, with concrete inputs filling in as official move lists and training-mode verification become possible. Each route page states its difficulty, meter cost, and position compatibility.
Combo Building Blocks
| Layer | Concept | Purpose | Skill Level |
|---|---|---|---|
| 2. Rapid Beat | Enhanced mash chains | Reliable damage without execution barriers | Beginner |
| 3. Special Cancels | Linking specials into chains | Break the autocombo damage ceiling | Intermediate |
| 4. Gauntlet Follow-ups | Knockaway into re-pressure | New route endings unique to this entry | Intermediate |
| 5. Super Finishes | Meter-spending super moves | Maximum damage when the gauge allows | Advanced |
Route Library
Rapid Beat Routes
The enhanced autocombo is your damage baseline
Special Cancels
Breaking past the autocombo ceiling
Gauntlet Follow-ups
The new technique opens new routes
Super Finishes
Meter-burning route enders
Core Mechanics
Melty Blood combo theory rests on a small number of mechanics that compose into every route. Damage scaling means early hits are cheap and later hits are discounted, so routes prioritize landing their biggest hits early. Hit confirmation separates routes that punish from routes that pressure — you must know whether your starter connected before committing meter. Position awareness splits every route into midscreen and corner versions, because wall interactions extend juggles and change Gauntlet knockaway behavior entirely. The Lumina gauge sits over all of it as the budget: special cancels and supers draw from one pool, so every route is also a spending decision. This entry's enhanced Rapid Beat changes the beginner curve — chains that once ended weakly now flow into specials — which shifts the execution floor upward and makes the notation-first approach of this section more valuable than in any previous Melty Blood.
Advantages
Learning combos through this structured path is dramatically faster than copying routes from videos, because each layer teaches the principle its routes depend on. Players who internalize scaling stop asking why their damage differs from a video's; players who understand cancels can repair their own dropped routes instead of restarting. The layer system also respects execution reality — Rapid Beat gives beginners respectable damage from day one, while the advanced layers remain available as skill grows, so nobody is locked out of improvement. When concrete inputs arrive post-launch, they slot into an existing framework: you will already know where a route starts, what its meter budget is, and what it should accomplish, making new routes a matter of minutes rather than evenings. That compounding understanding is the entire value of a theory-first combo library.
Challenges
This section's honest gap is that the game has not shipped: no verified input lists, frame counts, or damage values exist yet, so every route description here is structural rather than literal. Readers expecting copy-paste notation will find principles and placeholders where numbers belong — deliberately, because printing guessed inputs would poison your muscle memory with routes that do not exist. Combo theory also has limits against reality: scaling behavior, Gauntlet's exact properties, and super availability are all subject to change until the game is in players' hands, and even post-launch, balance patches rewrite routes regularly. The section compensates by marking confirmed versus expected content clearly and by focusing on transferable structure. Treat current articles as the skeleton; April 2027 adds the muscles.
Frequently Asked Questions
What is numpad notation and do I need it?+
Are Rapid Beat autocombos viable for real damage?+
Why do my combos drop in the corner?+
Quick Tips
Learn one route per character completely before collecting more. A single route you never drop — started cleanly, confirmed on hit, and finished with the right ender — beats five routes you can only execute in training mode, and it builds the confirmation habit that every other combo skill ultimately depends on.
Practice routes at three speeds: full speed for muscle memory, half speed to actually feel each transition between normal, cancel, and special, and mental speed where you walk through the inputs without touching the controller. The half-speed pass is the one most players skip and the one that fixes the most drops.
Budget your gauge before the combo starts, not during it. Decide in neutral whether this hit is leading to a super finish or a meterless route, and commit — mid-route spending decisions are exactly where dropped combos, wasted meter, and lost rounds are born in fighting games. Budget your gauge before the combo begins and say the decision out loud in training until it becomes automatic — deliberate spending in neutral is what separates clean damage from the dropped combos and wasted meter that decide close rounds.
Featured

Melty Blood: Twi-Lumina Mission Mode Combos and Trials
Prepare for Melty Blood: Twi-Lumina mission mode combos with trial-style drills, notation practice, and route goals to attempt on day one.
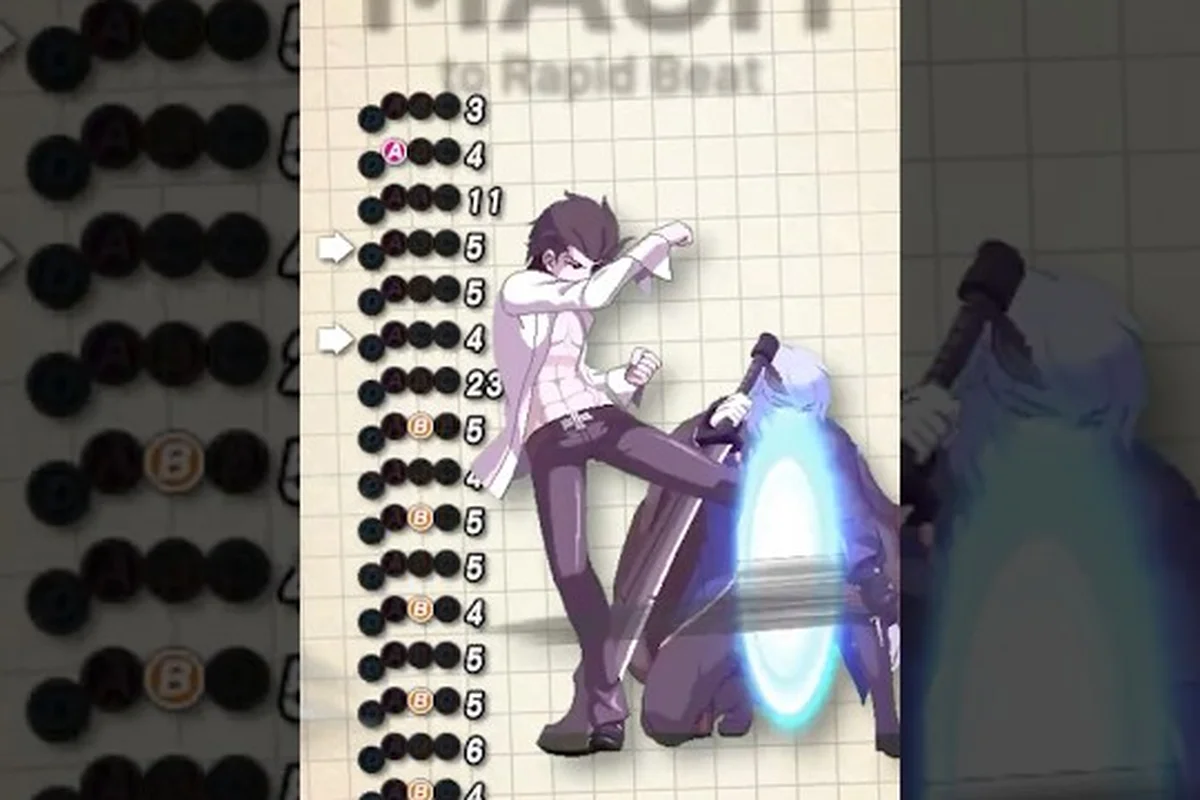
Melty Blood: Twi-Lumina Rapid Beat Combos and Extensions
Learn Melty Blood: Twi-Lumina Rapid Beat combos from mash routes into gauge-spending extensions, plus practice steps that build clean follow-ups.

Melty Blood: Twi-Lumina Combo Video Library and Sources
Find the best Melty Blood: Twi-Lumina combo video sources, from official trailers to community lab footage, and how to read each route.
All Articles

Melty Blood: Twi-Lumina Combos: BnB Routes and Pickup Timing
Learn Melty Blood: Twi-Lumina combos from beginner BnBs to advanced branches, with numpad notation, reliable pickups, and timing windows that hold under pressure.

Melty Blood: Twi-Lumina Optimal Combos: Scaling and Corners
Study Melty Blood: Twi-Lumina optimal combos with damage scaling rules, corner carry routes, and confirm choices that maximize every opening.
Melty Blood: Twi-Lumina Punish Combo Playbook
Build a Melty Blood: Twi-Lumina punish combo playbook: whiff punish timing, counter hit conversions, and stun routes worth the meter.