
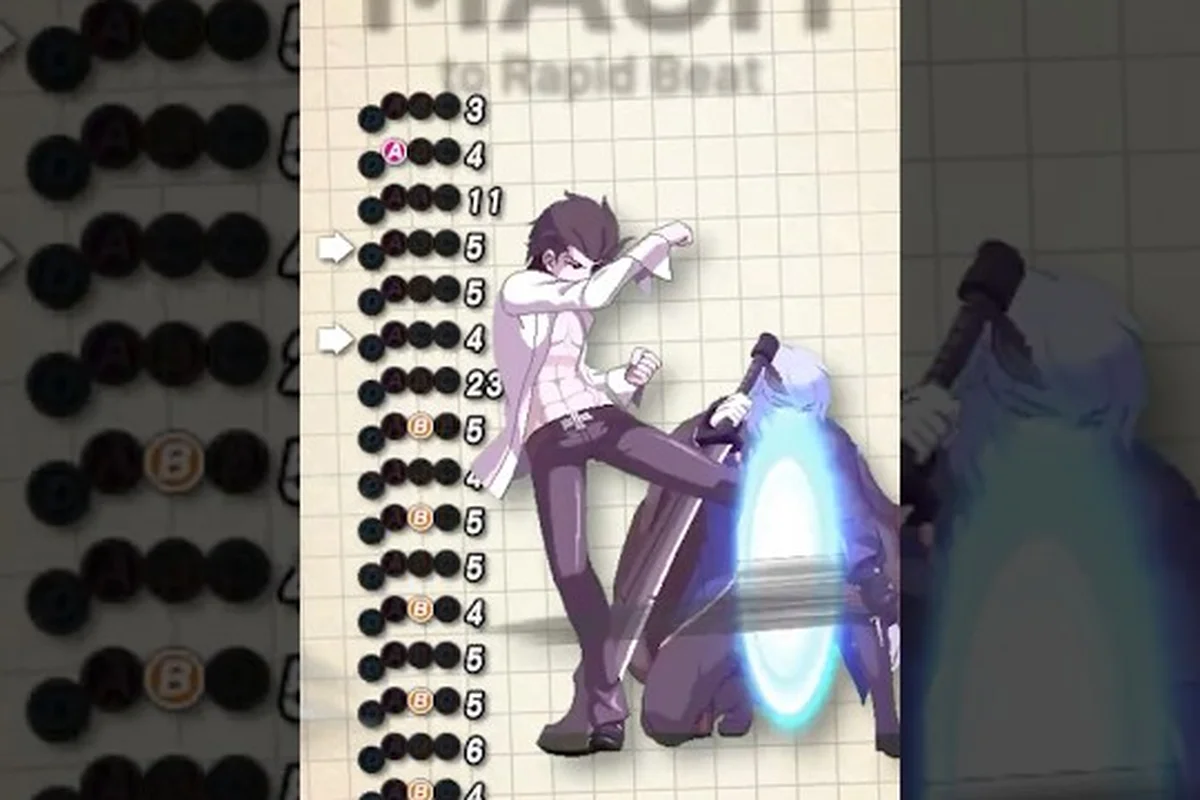
Melty Blood: Twi-Lumina Rapid Beat combos turn button-mashing into a real offense, letting new players convert a single touch into a multi-hit string without memorizing frame-perfect links. Twi-Lumina expands the inherited autocombo system with Gauntlet follow-ups and a dedicated gauge layer, so the same mash route can branch from a free damage win into a meter-burning extension. This guide walks through the Rapid Beat trigger rules, notation, mid-route branching, and a structured practice plan that takes you from the simplest mash string to a clean corner carry.
Rapid Beat Basics and Input Rules
Rapid Beat is the engine that powers every Melty Blood: Twi-Lumina Rapid Beat combo a beginner learns first. The system inherits its trigger from Type Lumina, where pressing the same normal button twice in a row during a string automatically extends the combo into a longer autocombo route. According to the Melty Blood: Type Lumina official how-to guide, this same chain system is the foundation that Twi-Lumina builds on, and community testing shared on Reddit r/Fighters confirms it can be triggered from any standing normal — A, B, or C — not just light attacks.
What Triggers Rapid Beat
The single rule to remember is same-button, twice in a row. If you press 2A, then press 2A again before the recovery ends, Rapid Beat begins and the route runs through a pre-programmed chain of normals until the player either drops the input, is blocked, or reaches the natural string end. Holding 1 or 4 (back) during the mash intentionally cancels the autocombo, which is the key escape valve when you want a quick recover instead of a longer commitment.
| Trigger Condition | Result | Source |
|---|---|---|
| Same normal pressed twice in a row | Rapid Beat begins, full string runs | Type Lumina official how-to |
| Input held back (1 or 4) during mash | Autocombo cancelled, normal recovery | r/Fighters deep-dive |
| 1A and 4A chained | Three-step route before string end | Fighting Game Guide |
| String blocked or whiffed | Combo drops, no penalty beyond whiff frames | Community data |
The three-step limit on 1A and 4A chains is worth noting because many new players instinctively try to extend jab strings past three presses and feel the route end abruptly. That ceiling is the system's design, not a bug, and it pushes you toward a stronger normal to start the route.
Why Rapid Beat Matters for Beginners
Rapid Beat gives new players a full damage route from a single touch without learning frame data or link windows. According to the Siliconera Type Lumina auto-combo writeup, this is the exact reason the system exists — to keep damage accessible while the rest of the game's deeper layers are still being learned. Twi-Lumina's added Gauntlet follow-ups sit on top of that foundation, so the same mash string can grow into a meter-spending extension once you have the gauge and the input timing.
Reading Twi-Lumina Combo Notation
Before going further, the notation needs to be clear because every combo string below is written in standard numpad format. If you have never read combo notation before, the numpad maps directions to numbers: 1 is down-back, 2 is down, 3 is down-forward, 4 is back, 5 is neutral, 6 is forward, 7 is up-back, 8 is up, 9 is up-forward. A means light punch, B means medium, C means heavy, and the number before the letter indicates the direction you press simultaneously.
Common Symbols You Will See
The symbols in Twi-Lumina combo notation follow fighting game standard. A > between inputs means cancel — performing the second move before the first finishes recovering. A , means a link, where the second move must be timed to start when the first move's active frames end. j. means jump-cancel, and ~ means a gatling chain where the second normal cancels the first automatically. Special moves are written with their motion, like 214A for a quarter-circle-back light.
| Symbol | Meaning | Example in String |
|---|---|---|
> | Cancel into next move | 2A > 5B |
, | Link (timed input) | 2A, 5B |
~ | Gatling chain | 5A ~ 5B |
j. | Jump-cancel | 2A > j.B |
(delay) | Hold the input longer | 5B (delay) > 236C |
[ ] | Optional input | 5A > 5B [ > 214A ] |
The > cancel is the most important symbol in Rapid Beat routes because every step inside an autocombo is technically a chain, not a manual link. That is why Rapid Beat works on mash — the engine handles the cancel timing for you.
Notation for the Gauntlet Layer
Twi-Lumina's Gauntlet is a dedicated follow-up system, and the official button layout maps it to a specific input so it can be chained from Rapid Beat or used independently. The most common notation you will see in community combo lists is ABC or the B+C macro, which triggers the Gauntlet launcher. From the launch, follow-ups are written with the same numpad motion style, so a typical ending might look like 5A > 5B ~ 5C > ABC > j.214B.
Mash Routes: The Autocombo Layer
The autocombo layer is where every Melty Blood: Twi-Lumina Rapid Beat combo starts, and Twi-Lumina's starter string is designed to give you a usable combo from your very first match. The route below is the most common mash sequence reported by players learning the game, and it works because every step is a chain rather than a link — mash timing is forgiving by design.
The Standard Mash String
The basic mash route begins with a low attack, walks up the strength chain, ends in a launcher, and finishes with a special. According to community data, this is the route that most new players land before they ever read a combo guide:
| Step | Input | What Happens |
|---|---|---|
| 1 | 2A | Low poke hits grounded or standing opponent |
| 2 | 2A (second press) | Rapid Beat triggers, route extends |
| 3 | 2B ~ 2C | Chain up through medium and heavy |
| 4 | 5C | Overhead normal, ends autocombo |
| 5 | ABC | Gauntlet launcher into follow-up opportunity |
The entire string runs on mash timing because every transition inside it is a gatling chain. The only inputs that require deliberate timing are the final heavy normal and the Gauntlet macro itself, both of which are forgiving on whiff.
Branches at the End of the Mash
Once the mash route reaches 5C, you have three realistic options. The autocombo is over, so the next input is a real decision, not a chain. Option 1 is to end the combo with a special move such as 236B for solid damage and a safe knockdown. Option 2 is to spend the Gauntlet input for a launcher that opens air follow-ups. Option 3 is to end with a throw or reset into another low poke if the opponent is expecting the overhead.
| Branch | Input After 5C | Damage Tier | Risk |
|---|---|---|---|
| Special ender | 236B | Medium | Low — special is safe on block |
| Gauntlet launcher | ABC | High | Medium — whiffing Gauntlet is punishable |
| Throw reset | 6A or 4A | Low | High — throw must be timed to the gap |
| Overhead reset | j.5B after dash | Medium | High — must condition opponent to block low |
The Gauntlet branch is where the mash layer transitions into the extension layer, and that pivot is the most important decision in the entire route. For a deeper look at how the meter layer feeds this decision, the moon gauge management guide walks through when to spend and when to bank.
Gauntlet Follow-Ups and Gauge Extensions
Twi-Lumina's Gauntlet follow-ups are the second half of the Rapid Beat system, and they are what separate a beginner mash string from a real combo. Once the Gauntlet launches the opponent, the route moves into the air, and the follow-up inputs are written for the airborne state. Community-tested strings show that the most reliable Gauntlet extensions spend gauge to keep the combo going past the autocombo's natural ceiling.
Basic Gauntlet Follow-Ups
After ABC launches, the standard follow-up is a jumping normal chain. The most common extension is j.5A > j.5B > j.5C, which keeps the opponent juggled and allows a grounded special at the end. If you have gauge available, you can spend it on a B+C or 632146C super input for a high-damage ender, but the input must be buffered during the jump chain so the super fires on landing.
| Gauntlet Extension | Inputs | Gauge Cost | Damage |
|---|---|---|---|
| Basic juggle | j.5A > j.5B > j.5C > 236B | 0 | Medium |
| Meter-spend ender | j.5A > j.5B > j.214C | 25% | High |
| Super ender | j.5A > j.5B > j.5C > 632146C | 50% | Very high |
| Air dash reset | j.5A > j.214B > dash > 2A | 0 | Medium |
The super ender at 50% gauge is the highest single-string damage option in standard play, and it is the goal most combo trials are built around. For a refresher on how the super input ties into the parry and shield layers, the controls and parry guide covers the timing in detail.
Corner Carry With the Gauntlet
Midscreen strings end fast because the opponent falls out of the juggle after one air chain. Carrying to the corner requires either a special that pushes the opponent horizontally, like j.214C, or a Gauntlet extension that re-launches the opponent from a grounded hit. The simplest corner carry in Twi-Lumina begins with a low poke, builds into the mash route, and finishes with j.214C into ABC for a second launcher closer to the corner.
| Position | Recommended Carry | Wall Splat? |
|---|---|---|
| Midscreen | 236C > dash > 2A | No |
| Near corner | j.214C > ABC | Yes |
| Cornered | ABC > j.5C > 632146C | Yes |
The optimal combo guide covers the deeper carry routes once you are comfortable with the basic mash and Gauntlet layers, and it includes the damage scaling notes that explain why super enders drop in value after long strings.
Practice Steps and Combo Trials
Reading a combo and landing it in training mode are very different tasks, and the fastest path between them is a structured practice plan. The following steps are designed for a 15-minute training session and are built around how Melty Blood: Twi-Lumina Rapid Beat combos actually combo — through chains, not links, which means mash timing is your friend on the first two-thirds of every string.
15-Minute Daily Practice Plan
| Minute | Drill | Focus |
|---|---|---|
| 0–3 | Mash the autocombo 20 times from 2A | Build chain muscle memory |
| 3–6 | Add the Gauntlet input at 5C | Practice the launch timing |
| 6–9 | Land j.5A > j.5B > j.5C in the air | Air chain timing |
| 9–12 | Buffer the super input during the air chain | Super ender practice |
| 12–15 | Run the full string 10 times, focus on the mash window | Consistency |
The first three minutes are the most important because they train the auto-trigger reflex. According to community testing, the most common drop is missing the second 2A that starts Rapid Beat, which is why the drill isolates that single input.
The Three Rapid Beat Drop Points Every Player Hits
Every Twi-Lumina player drops the same three points when learning Rapid Beat strings, and each has a specific fix. Drop 1 is the second 2A that triggers the autocombo — the fix is to deliberately double-tap instead of mashing, because the trigger is exact. Drop 2 is the Gauntlet macro at 5C — the fix is to input ABC as a single simultaneous press, not three sequential buttons. Drop 3 is the super input — the fix is to buffer the motion during the air chain, then press the button on landing.
| Drop Point | Why It Happens | Fix |
|---|---|---|
| 2A trigger | Mash timing too slow | Double-tap the second press deliberately |
| Gauntlet macro | Pressing buttons in sequence | Hold B and tap A and C together |
| Super ender | Inputting too late | Buffer 632146 motion during j.5C |
| Air chain | Jumping too early | Cancel 5C with j., then chain |
If drops persist after two weeks of daily practice, the combo drop troubleshooting guide covers deeper input timing and training mode settings that can isolate the exact failing input.
Frequently Asked Questions
What is the easiest Melty Blood: Twi-Lumina Rapid Beat combo for a new player?
The easiest Melty Blood: Twi-Lumina Rapid Beat combo for a new player is the basic mash string — 2A > 2A > 2B > 2C > 5C > 236B. Every step is a chain, so the input is forgiving, and the string ends in a safe special that gives you space on knockdown. Once this lands consistently, add the Gauntlet macro at 5C and the air chain that follows.
How do I trigger Rapid Beat without the autocombo running away?
Hold 1 or 4 (back) while pressing the same button twice. The autocombo system checks for back input during the second press and intentionally cancels the chain. This is the official escape valve, and community testing confirms it works from any of the three standing normals. Use it when you want a single normal and a quick recover instead of the full string.
When should I spend gauge on a Gauntlet extension instead of banking it?
Spend gauge on a Gauntlet extension when the round is in your favor and you need a confirmed kill, or when the opponent has burned their burst. Bank the gauge when the round is close and you might need reversal or super later. According to community data, most mid-round Twi-Lumina players run around 50% gauge at any time, which leaves room for a super ender while keeping one defensive option in reserve.
What combo trials should I start with to build Rapid Beat consistency?
Start with the autocombo-only trials, which require landing the mash string without the Gauntlet layer. Once those are clean, move to the Gauntlet launcher trials, and finally to the super ender trials. Skipping ahead to the super trials is a common mistake because the input window is tight, and the underlying mash string has to be automatic before the super buffer can land.