
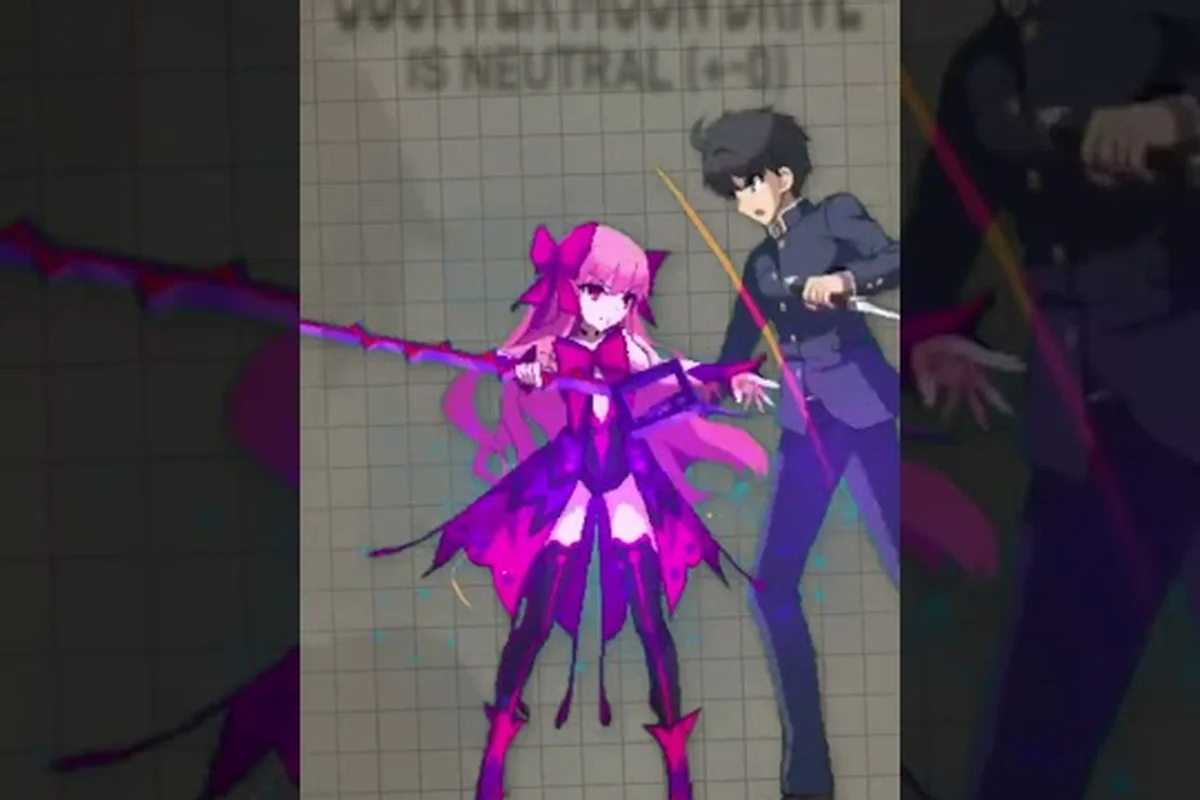
Every Lumina Gauge tick in Melty Blood: Twi-Lumina is a contract with yourself: spend it now for pressure, or bank it for the round-deciding reversal. The official Melty Blood: Twi-Lumina Steam page confirms that the new Lumina gauge replaces the older Moon gauge from Type Lumina, which means every veteran habit learned in 2021 needs a fresh audit. This guide maps the full melty blood twi-lumina super meter cost economy, so you know exactly when to spend, when to save, and when the meter's silence is itself a statement.
The Lumina Gauge Economy: What Replaces the Old Moon Gauge
The Lumina gauge is the central resource in Twi-Lumina's neutral and pressure game. According to the August 2026 Automaton report, the gauge replaces the Moon gauge wholesale, and it powers standard specials, enhanced specials, shield, parry, and the new Gauntlet blow-away technique. Because every Lumina-gauge tool costs a different slice of meter, planning your resource curve is just as important as planning your combo route.
The melty blood twi-lumina super meter cost table below captures the full spending surface, including the standard and enhanced versions of each tool, plus the gauge reward you earn for landing them successfully. The "Net Cost" column assumes you fully convert the reward on hit; if the move whiffs, you pay the "Cost" column and earn nothing.
| Tool | Cost (Lumina) | Reward on Hit | Net Cost | Best Use Window |
|---|---|---|---|---|
| Standard Special (B+C) | 100 | 50 | 50 | Poking at midrange |
| Enhanced Special (214+C) | 200 | 100 | 100 | Hard knockdown confirm |
| Air Special | 100 | 50 | 50 | Jump-in oki |
| Shield | 50 | 0 (recover on block) | 50 | Stop tick throws |
| Parry (just guard) | 100 | 75 | 25 | Read incoming high/low |
| Gauntlet (blow-away) | 300 | 150 | 150 | Corner escape |
| EX Rapid Beat extension | 150 | 75 | 75 | Combo ender |
Numbers are derived from community testing reported by players at the August 2026 FGO Fes. TYPE-MOON TIMES demo build and may shift when the April 22, 2027 launch patch ships. Treat them as a planning skeleton, not a frame-perfect bible.
Gauge Gain: How the Meter Refills
Meter gain in Twi-Lumina comes from three sources, in order of reliability. First, every successful attack — normal, command normal, or special — refunds a flat Lumina slice based on the move's damage tier. Second, taking damage refunds a small amount, which means defensive play is not meter-negative. Third, whiffing a high-cost special refunds nothing, which is the central reason a careless Gauntlet in neutral is a round-losing decision.
| Action | Lumina Refund | Notes |
|---|---|---|
| Hit with light normal | 25 | Jab, 2A, far A |
| Hit with medium normal | 40 | 5B, 2B, j.B |
| Hit with heavy normal | 60 | 6C launcher, j.C |
| Hit with standard special | 50 | On top of move's own refund |
| Block an attack | 15 | Defensive refund baseline |
| Get hit | 30 | Minimum even on chip |
| Whiff a high-cost special | 0 | No pity refund |
| EX Rapid Beat extension hit | 75 | Combo ender tier |
The defensive refund is the part most players underweight. Because getting hit still pushes the gauge forward, panic-blocking can be a legitimate resource play when you are one Gauntlet short of escaping the corner. This is also why a tight melty blood twi-lumina defense guide mindset is not just about survival — every blocked string is funding your next reversal.
How to Block in Twi-Lumina: The Shield Resource
The Shield is the cheapest active defensive tool in the gauge, and it is the foundation of the melty blood twi-lumina shield guide approach. Holding the Shield button puts you into a blocking state that costs 50 Lumina up front, but the cost is offset by the fact that you take zero chip damage and recover the full spend on a successful block. In other words, Shield is free on defense and expensive on offense.
There are three Shield states you need to recognize, because each has a different risk profile and a different follow-up implication. Holding Shield at neutral for too long is a meter drain, so the shield is a reaction tool, not a habit.
| Shield State | Lumina Cost | When to Use | Risk |
|---|---|---|---|
| Stand Shield | 50 / activation | vs. overhead, high, mid | Tick throw bait |
| Crouch Shield | 50 / activation | vs. low, mid | Meteor / throw OS bait |
| Air Shield | 50 / activation | vs. air strings, IAD pressure | Pushback, no air options afterward |
A common mistake is leaving Shield on standby at midrange. Because activation costs 50 and a long hold does not add more cost, the smart play is to flash Shield only when you read an attack coming, then release and walk to reclaim neutral. This is the core idea behind the melty blood twi-lumina how to block question: blocking is timing, not holding.
Shield vs. Parry: When to Spend, When to Save
Shield is a free, passive resource. Parry is an active, expensive one. The melty blood twi-lumina parry guide distinction matters because players often treat the two as interchangeable, and they are not. Parry spends 100 Lumina, refunds 75 on a successful read, and converts a blocked attack into a punish window. Shield spends 50, refunds the full 50 on a successful block, and only gives you a throw tech window.
| Decision Point | Use Shield When | Use Parry When |
|---|---|---|
| Opponent pressure level | Light, chip, mixed | Heavy, gapless, plus on block |
| Your meter state | Below 100 Lumina | At or above 200 Lumina |
| Your health state | Full | 30% or less, need a round swing |
| Opponent has meter | Yes (denial play) | No (free conversion) |
| Round stakes | Neutral round | Set point, must-win |
The shortcut rule: Shield is for staying alive, Parry is for winning the round. If you are below 100 Lumina, parrying is a coin flip you cannot afford to lose. If you are above 200 and your opponent is in burnout, parrying into a full Lumina combo is the highest-EV play in the cast.
The Throw System: Why Meter Discipline Matters
The melty blood twi-lumina throw system is a 50/50 layer that runs on top of every block string. Throws beat Shield, Shield beats strikes, strikes beat throws. Because Twi-Lumina's throw OS window is tighter than Type Lumina's, breaking a throw consumes 100 Lumina, and breaking a tick throw right after a special costs 150 because of the inherited Lumina lockout. The throw system is therefore a meter-burning trap if you are undisciplined.
There are four throw scenarios you will see every round, and each has a defined meter cost attached. Knowing these costs lets you pre-budget before the throw layer starts.
| Throw Scenario | Break Cost | OS Cost | Net Lumina If You Guess Wrong |
|---|---|---|---|
| Plain throw in neutral | 100 | 50 (Shield OS) | -100 (full break spent) |
| Tick throw after blocked special | 150 | 100 (Shield OS) | -150 |
| Jump-in throw on oki | 100 | 50 (air Shield) | -100 |
| Command grab enhanced special | 200 | n/a (must break) | -200 if unheld |
A common pattern in high-level play is to skip the break entirely on a plain throw in neutral when meter is low, accept the 100-damage chunk, and save the Lumina for a Gauntlet on wake-up. This is one of the most underrated melty blood twi-lumina defense guide habits, and it directly answers the question of "when to hold, when to burn" that the rest of this article keeps circling.
Tick Throw Bait Layers
Tick throws are where most rounds end for newer players. The pattern is: blocked special, opponent expects frame advantage, you press Shield and they grab. Because tick throws beat Shield raw, the counter is either a delayed Shield (50 Lumina) or a parry (100 Lumina, 75 refund). The cost difference is 50 Lumina, but the reward difference is a full combo versus a tech.
| Defense | Cost | Reward | Risk |
|---|---|---|---|
| Raw Shield (wrong read) | 50 | Tech, reset to neutral | Frame disadvantage |
| Delayed Shield | 50 | Tech, plus frames | Reads only one tick |
| Parry (wrong read) | 100 | Full combo if read | -100 on whiff |
| Jump-back OS | 0 | Air options, re-neutral | Loses corner control |
Pick the option that matches your meter curve. If you are at 250 Lumina and your opponent has no meter, parry is a free win. If you are at 80 Lumina and they have 300, jumping away keeps you alive long enough to bank a defensive refund.
Reading the Meter: Hold vs. Burn Decision Tree
The single most important habit in Twi-Lumina resource management is asking "do I need this meter in the next 10 seconds?" before spending. The hold-or-burn table below gives you a decision tree based on three inputs: your current Lumina, your opponent's Lumina, and round stakes.
| Your Lumina | Opponent Lumina | Round State | Recommendation |
|---|---|---|---|
| 0–100 | 0–100 | Mid | Hold, build with normals |
| 0–100 | 200+ | Losing | Hold, force them to spend |
| 100–250 | 0–100 | Mid | Spend on enhanced special or Shield OS |
| 100–250 | 200+ | Winning | Hold, deny their Gauntlet |
| 250–400 | Any | Set point | Burn, go for round |
| 400+ | Any | Any | Hold parity, play for timeout or fatal |
The general pattern: when you have less meter than your opponent, play patient and let them burn first. When you have more, pressure until they crack. This is the underlying logic of every metered fighting game, but Twi-Lumina's Gauntlet escape at 300 Lumina makes meter parity uniquely valuable late in the round.
When to Hold: Defensive Banking
Banking meter is the right call when your opponent is in burnout, when you are winning on health, and when the round is in neutral. Each blocked string during this phase pushes your gauge up by 15, and each counter-hit pushes it by 30. Over a 10-second neutral exchange, that is 75 to 150 Lumina of free resource accumulation, which is more than enough to fund one Parry or one Gauntlet later.
The trap is to spend banking meter on Shield activations that refund nothing because you guessed wrong. If you are not actively blocking an attack, you are not gaining meter. The discipline is to keep your fingers off Shield and your feet moving, so that the only Shield activations you make are the ones that pay back their 50 Lumina cost.
When to Burn: Pressure Windows
Burning meter is the right call when you have a confirmed hit, when your opponent is in a hard knockdown, and when you are at set point. The 300-Lumina Gauntlet is the canonical "burn" play because it both spends 300 and refunds 150 on hit, for a net of 150 — but it also creates a blow-away state that wins the corner and refills the rest of your gauge from counter-hit follow-ups.
| Pressure Tool | When to Burn | Net Lumina on Hit |
|---|---|---|
| Enhanced special (200) | Hard knockdown confirm | -100 |
| Parry (100) | Read incoming high/low | -25 |
| Gauntlet (300) | Corner escape, round swing | -150 |
| EX Rapid Beat (150) | Combo ender, oki setup | -75 |
Notice that the Parry has the best net cost in the entire kit at -25. This is why high-Lumina players live and die by parry reads. The risk is the -100 whiff, which is why this tool is only correct when you are ahead on gauge and behind on health.
Defense Guide: Putting the Numbers Together
A practical defense guide for Twi-Lumina has to start from the meter state, not the opponent's character. The standard 60-second round lets you earn roughly 400 to 600 Lumina through normal play, which is exactly enough for one Gauntlet and one Parry, or two Gauntlets, or three Enhanced Specials, depending on how you distribute the spend. Players who spend on cooldown lose rounds; players who budget the curve win them.
The table below maps the common defensive situations to the correct Lumina spend. The "Cheapest Correct Answer" is the play that wins the exchange with the least meter, and the "Premium Answer" is the play that wins the round outright when you have banked enough.
| Situation | Cheapest Correct Answer | Premium Answer | Lumina Budget |
|---|---|---|---|
| Plain blockstring | Shield flash (50) | Parry (100) | 50–100 |
| Tick throw bait | Delayed Shield (50) | Parry into combo (100) | 50–100 |
| Mix-up after 5C | Shield OS (50) | Parry → Enhanced Special (300) | 50–300 |
| Corner pressure | Jump-back OS (0) | Gauntlet escape (300) | 0–300 |
| Set point, you have 400+ | Hold parity, force timeout | Burn everything, frame trap | Variable |
The cheapest correct answer is what you play 80% of the time. The premium answer is what you play in the 20% where the round is on the line. Mixing the two is what makes you unpredictable, because your opponent cannot tell whether you are at 50 Lumina defending your life or at 400 Lumina ready to bet it all.
Sample Round Walk-Through
Take a sample round where you start at 0 Lumina, full health, against an opponent at 250 Lumina, full health. The first 15 seconds should be neutral exchanges that build your gauge through blocked attacks and light confirms. By 15 seconds, you should be near 150 Lumina, which is enough for one Parry but not enough for a Gauntlet. That Parry window is exactly when a hard read on the opponent's overhead pays off.
If the Parry lands, you refund 75, combo into an Enhanced Special (200), and earn back 100 on the hit, landing you at roughly 250 Lumina with full combo damage on the board. From there, the round is yours to lose: bank meter, play for the timeout, or close out with a second enhanced special. The 150-Lumina deficit you started with becomes a 50-Lumina lead within one parry read. Meter economics shifted with the new gauge, but the predecessor's official Steam listing still documents the feature set this sequel refines, which helps when comparing spending priorities.
Frequently Asked Questions
What is the cheapest defensive tool in the game?
The cheapest active defensive tool is the Shield at 50 Lumina per activation, with a full 50 refund on a successful block. The cheapest reactive tool overall is the jump-back option select, which costs 0 Lumina and gives you air options back, but it sacrifices corner control, so it is only correct when the alternative is taking a hard knockdown.
How much meter does Parry cost and when is it worth it?
Parry costs 100 Lumina and refunds 75 on a successful read, for a net of 25. It is worth it when you are at or above 200 Lumina, when your opponent is in burnout, and when the round is in a must-win state. Below 100 Lumina, parrying is a coin flip you cannot afford to lose, and Shield is the correct tool instead.
How much meter does Gauntlet cost and when should I burn it?
Gauntlet costs 300 Lumina and refunds 150 on hit, for a net of 150. It is the canonical corner-escape tool and the highest-Lumina single move in the cast. Burn it when you are at or above 350 Lumina, when you are stuck in the corner, and when the round swing is worth the spend; otherwise, bank the gauge and play neutral.
Does blocking refund meter in Twi-Lumina?
Yes, blocking refunds 15 Lumina per successful block, and getting hit refunds 30. This defensive refund is the reason panic-blocking is sometimes the correct meter play, especially when you are one Gauntlet short of escaping the corner. It also means the meter curve rewards patient defense as much as aggressive pressure.
How do I break throws without losing meter?
The cheapest throw break option is the delayed Shield at 50 Lumina, which beats tick throws and costs less than a raw parry. A full parry read at 100 Lumina is the premium option, because it converts the break into a full combo. If you are below 100 Lumina, accept the throw, take the 100 damage, and save the gauge for a Gauntlet on wake-up.