
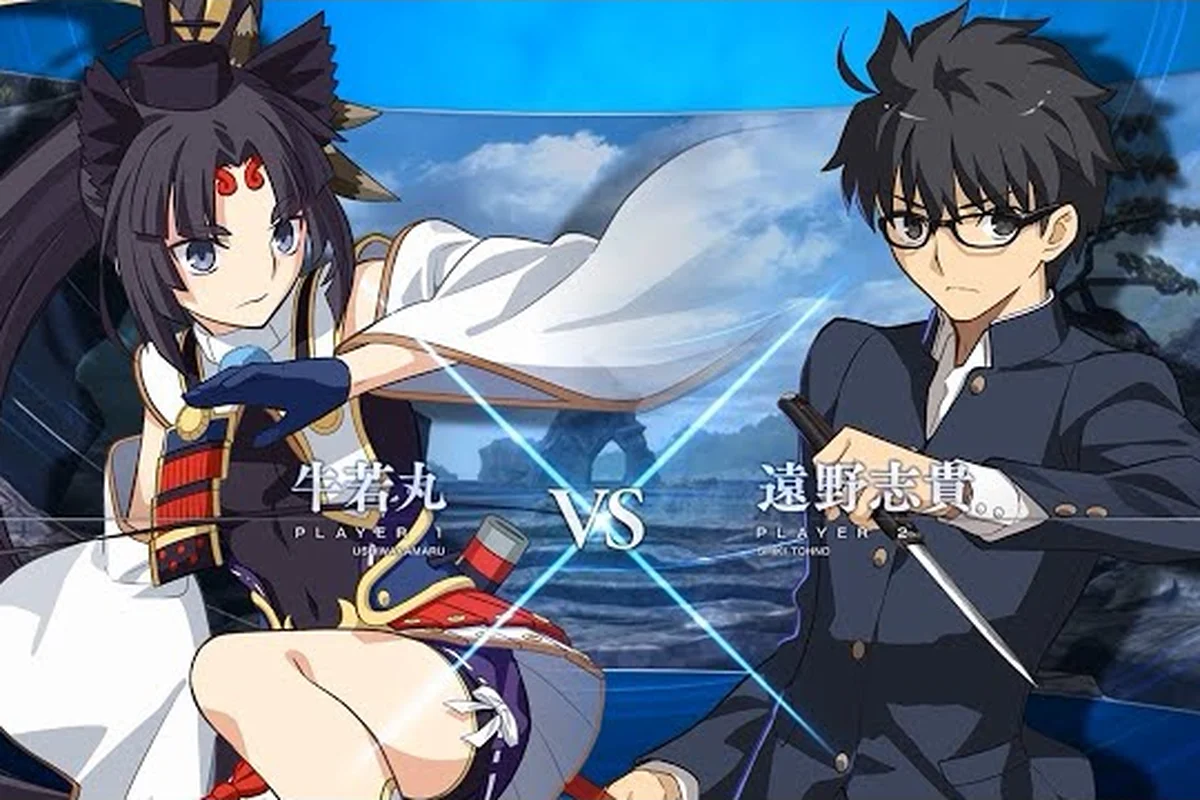
A complete Melty Blood: Twi-Lumina move list starts with the numpad, because every command in the game — from a simple quarter-circle forward to a half-circle dragon punch — is written in shorthand that maps to a joystick direction. Without numpad notation, the input list reads like gibberish; with it, every Shiki Tohno special becomes a one-line recipe you can drill in training mode.
Reading the Twi-Lumina Numpad Notation
Numpad notation assigns each of the nine joystick positions a number on a 3x3 grid, with 5 sitting at the neutral center. The 1-3 row is the down-ward quadrant, the 7-9 row is the up-forward quadrant, and 2, 4, 6, and 8 are the cardinal directions. When the official Melty Blood: Type Lumina how-to guide shows a command like 236A, it literally means "tilt the stick down, then down-forward, then forward, and tap the A button on the final forward." Twi-Lumina inherits this convention wholesale, so anyone who learned Type Lumina reads the new input list without re-learning the alphabet.
The reason this matters is that 2D fighters use a single set of motion shortcuts across an entire roster. Mastering the notation once unlocks every character's input list, including the Shiki Tohno move list that anchors Twi-Lumina's neutral game. Community testing on the r/Fighters Type Lumina deep dive confirms players who internalized numpad notation in week one climbed ranks noticeably faster than players who tried to memorize raw button sequences.
Numpad Direction Reference
| Numpad | Direction | Common Short Form |
|---|---|---|
| 1 | Down-Back | Hold back while crouching |
| 2 | Down | Crouch |
| 3 | Down-Forward | Crouch-step toward opponent |
| 4 | Back | Hold away from opponent |
| 5 | Neutral | Stick at rest |
| 6 | Forward | Step toward opponent |
| 7 | Up-Back | Hold back while jumping |
| 8 | Up | Jump straight up |
| 9 | Up-Forward | Jump toward opponent |
| 236 | Quarter-Circle Forward (QCF) | Down → Down-Forward → Forward |
| 214 | Quarter-Circle Back (QCB) | Down → Down-Back → Back |
| 623 | Dragon Punch Motion (DP) | Forward → Down → Down-Forward |
| 63214 | Half-Circle Back (HCB) | Back → Down-Back → Down → Down-Forward → Forward |
| 41236 | Half-Circle Forward (HCF) | Forward → Down-Forward → Down → Down-Back → Back |
Button Naming Convention
| Symbol | Button | Notes |
|---|---|---|
| A | Light Attack (L) | Fastest normal, lowest damage |
| B | Medium Attack (M) | Balanced speed and reach |
| C | Heavy Attack (H) | Slowest, highest damage, best reward on counter-hit |
| D | Unique/Partner button | Tag-related system actions in Twi-Lumina |
| A+B | Universal system action | Shield, Throw, or Rapid Beat trigger |
| B+C | Universal command | System mechanics like Throw or EX cancel |
Shiki Tohno's Standing and Crouching Normals
Shiki Tohno's normal moves form the foundation of his entire input list, because every Rapid Beat string, every frame trap, and every okizeme setup starts from a standing or crouching normal. According to community frame data compiled by Fighting Game Guide, the 1A and 4A buttons chain into each other three times before the route ends, which means players can build a three-hit confirm purely from crouching lights before deciding to spend meter or commit to a special.
The standing normals reward spacing more than raw speed, because Shiki's archetype is mid-range footsies rather than rushdown. His 5B reaches farther than most of the cast's medium normals, which makes it the go-to whiff-punish tool when the opponent overextends. Crouching 2A acts as a low poke that beats out other crouching lights, and 2B is the standard crouching medium that combos into Rapid Beat on hit, giving players a safe pressure extension without committing to a special.
Shiki Tohno Normal Move Reference
| Input | Move Name | Speed | On-Block | On-Hit | Notes |
|---|---|---|---|---|---|
| 5A | Standing Light | 5f | -2 | +1 | Chain starter into 5A, 2A, 5B |
| 5B | Standing Medium | 8f | -4 | +2 | Best whiff-punish normal |
| 5C | Standing Heavy | 11f | -7 | +3 | Launcher on counter-hit |
| 2A | Crouching Light | 4f | -2 | +1 | Chains into 5A, 5B, 2B |
| 2B | Crouching Medium | 7f | -4 | +2 | Routes into Rapid Beat, low profile |
| 2C | Crouching Heavy | 10f | -12 | KD | Hard knockdown setup, sweeps lows |
| j.A | Jump Light | 5f | — | — | Cross-up button, air-to-air option |
| j.B | Jump Medium | 8f | — | — | Best jump-in normal, deep hit converts |
| j.C | Jump Heavy | 12f | — | — | High damage jump-in, slow startup |
| 6A | Forward Light | 9f | -3 | +3 | Overhead, gapless into 2A |
| 4A or 1A | Back/Crouch Light | 4f | -2 | +1 | Chain 3x into Rapid Beat |
| 3C | Crouch Heavy Forward | 13f | -10 | KD | Low-profile launcher, hard read |
The key takeaway from the normal list is that Shiki rewards structured play. The 4A and 1A chain is the safest confirm in the game, and every player should be able to execute three lights into Rapid Beat without thinking. The 5B and 2B pokes build the footsies layer, while 5C and 3C create the high-low and left-right mixups that open up defensive opponents. Without this normal layer drilled into muscle memory, the special moves below never get a chance to land cleanly.
Special Move Input List for Shiki Tohno
Shiki Tohno's special moves use the same command list structure as the rest of the Twi-Lumina cast, but his kit leans heavily on quarter-circle and dragon punch motions rather than charge or double-half-circle inputs. The Siliconera breakdown of Type Lumina auto combos explains that the shield counter converts a well-timed block into an offensive turn, and Shiki's command list pairs that shield with high-damage 623-style reversals that punish opponents who press buttons on his wakeup.
The specials branch into three families: projectile-style space control, pressure tools that extend the neutral game, and reversal options that buy time when cornered. Each one has a clean input you can drill in training mode within an hour, and the command list is short enough that even new players can build a functional gameplan by the end of a single session.
Shiki Tohno Special Move Command List
| Input | Move | Startup | On-Block | On-Hit | Use Case |
|---|---|---|---|---|---|
| 236A/B/C | Reppuzan | 9-13f | -4 to -6 | +2 to KD | Quarter-circle projectile, controls space |
| 623A/B/C | Tsukiakari | 5-9f | -22 to -30 | KD | Dragon punch reversal, anti-air |
| 214A/B/C | Kongou Zansetsu | 11-15f | -8 to -12 | +4 to KD | Quarter-circle back sweep, low option |
| 63214A/B/C | Tsumukari | 22-28f | -14 | KD | Half-circle back command grab, throws |
| j.236A/B/C | Renge Kiri | 12-14f | — | — | Air quarter-circle, dive kick pressure |
| 41236A/B/C | Yasakani | 30f | Invul | KD | Half-circle forward super, high damage |
| 236236A/B/C | Arc Drive | 12f | Invul | KD | Full super input, meter dump |
| 214214A/B/C | Another Arc Drive | 14f | Invul | KD | Reverse super, alt damage route |
| 22A/B/C | Rapid Beat trigger | 3f | — | — | Press same attack twice during string |
| A+B | Shield | 1f | — | — | Block, parry low/overhead |
| B+C | Throw | 5f | — | — | Forward throw or back throw |
| 214D | Partner Switch | 12f | — | — | Tag to partner character, costs moon gauge |
Reading Input Difficulty
| Motion | Difficulty | Beginner Tip |
|---|---|---|
| 236 (QCF) | Easy | Drag finger across the four cardinal points |
| 623 (DP) | Medium | Forward tap, then down, then down-forward in one stroke |
| 214 (QCB) | Easy | Mirror of QCF, start from forward instead of back |
| 63214 (HCB) | Hard | Half-circle back, requires smooth motion |
| 41236 (HCF) | Hard | Half-circle forward, slow control stick gently |
| 236236 | Very Hard | Two QCFs back-to-back, needs clean buffer |
| 214214 | Very Hard | Two QCBs back-to-back, alternate super cancel |
The 623 family is the most important to drill first, because every Shiki player needs a reliable reversal against jump-in pressure. The 236 family controls space and forces opponents to play around a projectile. The 63214 grab gives the player a way around opponents who block every pressure string, and the 236236 / 214214 super inputs close out rounds when meter is full. Drilling each motion in isolation — ten reps in training mode, one rep clean, repeat — builds the muscle memory faster than trying to learn the whole list at once.
System Move Input List and Universal Mechanics
Twi-Lumina inherits a uniform system move list from Type Lumina, and every character shares the same button combinations for shield, throw, and Rapid Beat. According to the r/Fighters technical breakdown, Rapid Beat triggers from any standing normal — A, B, or C — so players can extend any starter into an autocombo simply by pressing the same button twice. The official Type Lumina how-to page reinforces this with the tip that holding 1 or 4 cancels the autocombo, which is critical for players who want to confirm into a special instead.
The universal input list below appears on every character's command list, and the notation guide treats these moves as part of the game's shared vocabulary. New players often miss that B+C triggers a system throw — many assume B and C must be pressed in a specific order, but the game accepts either sequence because Twi-Lumina's input buffer reads both buttons simultaneously.
Universal System Input List
| Input | Move | Activation | Cost |
|---|---|---|---|
| A+B | Shield | Tap during opponent's attack startup or active frames | Free |
| 22A | Light Rapid Beat | Tap A again during 5A/2A active frames | Free |
| 22B | Medium Rapid Beat | Tap B again during 5B/2B active frames | Free |
| 22C | Heavy Rapid Beat | Tap C again during 5C/2C active frames | Free |
| B+C | Throw | Press near opponent in neutral or after blockstring | Free |
| 214D | Partner Tag | Input quarter-circle back + D during neutral or combo | 500 Moon Gauge |
| 236D | Partner Call | Input quarter-circle forward + D after knockdowns | 500 Moon Gauge |
| A+B+C | Moon Drive | Tap all three attack buttons with 100% Moon Gauge | Full gauge |
| 632146D | Blood Heat | Reverse half-circle + D during Moon Drive | Full gauge |
The Rapid Beat trigger is the single most important system input for new players, because it turns every normal into a low-commitment autocombo. According to community data from TheGamer's beginner guide, the same-button input means even players who have never touched a 2D fighter can land a three-hit string in their first match. The 22A and 22B routes are especially strong because they lead into 5C and 2C launchers on hit, which then convert into special moves for 30-40% damage combos without any manual execution.
The Moon Drive input (A+B+C) is the highest-payoff system move, because it activates a temporary powered-up state that gives every attack chip damage on block and unlocks access to the Arc Drive super. Players should think of Moon Drive as a round-closing resource rather than a neutral tool, because spending 100% Moon Gauge early typically loses the round against experienced opponents who save their own gauge for the same window.
Frame Data Notation and Matchup Reading
Frame data tells you exactly when each move is safe, when it's punishable, and when it gives you a free turn on hit. The Melty Blood: Twi-Lumina frame data column uses a few shorthand terms that every input list should clarify. Startup refers to how many frames pass before the move becomes active, with the game's tick rate at 60fps. On-Block shows the frame advantage when the opponent blocks the move, and negative numbers mean the opponent can punish the move for free. On-Hit shows the same advantage when the move connects, and positive numbers mean the attacker can act first.
The Twi-Lumina notation guide also distinguishes between active frames (how long the hitbox stays out) and recovery frames (how long the attacker is stuck in the move's end lag). A move with 9 active frames and 12 recovery frames behaves very differently from a move with 3 active frames and 18 recovery frames, even when both show the same on-block number. The longer-active move is harder to whiff-punish, while the shorter-active move has cleaner frame advantage on block.
Frame Data Quick Reference
| Term | Meaning | Example |
|---|---|---|
| Startup | Frames before hitbox appears | 9f = 9 frames, 0.15 seconds at 60fps |
| Active | Frames hitbox stays on screen | 3f = 3 active frames |
| Recovery | Frames after hitbox before attacker can act | 12f = 12 frames end lag |
| On-Block | Frame advantage when blocked | -4 = opponent is 4 frames faster |
| On-Hit | Frame advantage when hits | +2 = attacker is 2 frames faster |
| Counter-Hit | Bonus advantage on hit during opponent's startup | KD = hard knockdown, okizeme setup |
| Guard Point | Frame window where attack absorbs one hit | Shield 1f parry window |
| Invuln | Invincibility frames during startup | 1-3f = invincible for 3 frames |
Players who want to read the Twi-Lumina frame data charts for any character should start with the normals table above and the specials table in the previous section. The normal list is short enough to memorize in a week of training mode, and the special list builds on the same numpad notation readers already learned. The arc drive list for Shiki and the rest of the cast is a natural next step for players who want to expand their combo routes into 50%+ damage conversions, and the full frame data reference for the cast catalogs those routes character by character.
The practical application of frame data is straightforward: when you see -4 on block, you know the opponent can use any move with 4 frames of startup or faster to punish. When you see +2 on hit, you know your next normal will beat the opponent's fastest button because you act first. Drilling these numbers in training mode — set the dummy to block after first hit, then practice the punish — builds the kind of muscle memory that separates ranked climbers from players stuck in the early floors. Notation conventions here follow the series standard, and the first game's Steam listing is a handy anchor point for players migrating their input notes between entries.
Frequently Asked Questions
What is numpad notation in the Melty Blood: Twi-Lumina input list?
Numpad notation maps joystick directions to numbers on a 3x3 grid, with 1 at down-back, 6 at forward, 9 at up-forward, and 5 at neutral. Every command in the input list — like 236A for a quarter-circle forward plus light attack — uses this shorthand so players worldwide can read the same input list regardless of stick or pad layout.
How do I read the Melty Blood: Twi-Lumina frame data columns?
The frame data table shows startup, active frames, recovery, and on-block / on-hit advantage. Negative on-block numbers mean the move is punishable, while positive on-hit numbers mean the attacker gets a free turn. Counter-hit bonuses add extra advantage on top of the base on-hit value when the move lands during the opponent's startup.
What button combination triggers Rapid Beat in Twi-Lumina?
Rapid Beat triggers by pressing the same attack button twice in a row during a normal string, so tapping A twice during 5A chains into 22A, tapping B twice during 5B chains into 22B, and tapping C twice during 5C chains into 22C. Holding 1 or 4 cancels the autocombo if you want to confirm into a special instead.
Can I cancel the Shiki Tohno move list into specials on block?
No, you cannot cancel normals into specials while the opponent blocks unless the normal was a counter-hit or a throw break. On block, the Shiki Tohno move list routes into pressure resets, frame traps, and Rapid Beat, while on hit the same normals chain into 236A/B/C Reppuzan or 214A/B/C Kongou Zansetsu for full combo conversions.
Where do I find the full command list for every Twi-Lumina character?
The full command list is split across the in-game tutorial mode, the official Type Lumina how-to page, and community frame data repositories that track every normal, special, and super. Players who want a single source should bookmark the Twi-Lumina system mechanics reference alongside their character's frame data page, because the universal inputs and character-specific inputs share the same numpad notation across the entire cast.